Anyone who’s been reading my periodic tech blogs is probably aware that backups are one of my main “interests” in this field.
I got into backups because … well, let’s just say that Linux has come a long way during the time I’ve been using it and back in the bad old days it wasn’t uncommon for me to install the operating system twice a year after everything fell apart (ah, the uncherished memories).
Eventually, I figured that a solid backup approach would save me lots of time in the long run and I’ve been happily backing up my stuff ever since.
I once even discussed backups on The Backups Wrap-Up — humanity’s preeminent (but not its only!) backup podcast.
Change My Mind: There’s Almost No Such Thing As Having Too Many Backups…
One of the golden rules of backups is that it’s better to have them than not to. (My twist on another one is: assume all your backups are worthless heaps of bits and bytes until you validate them on a test restore!)
So when sometimes I realise that there’s useful data that I should be protecting (say, a custom app configuration), I’ve been looking for a solution to drop miscellaneous bits and bytes into something that syncs .. somewhere.
B2 provides very affordable cloud object storage and Matt Jones helpfully authored this blog on how to use the mount command in rclone in order to mount a bucket to the filesystem.
Step 1: Create A Bucket In B2
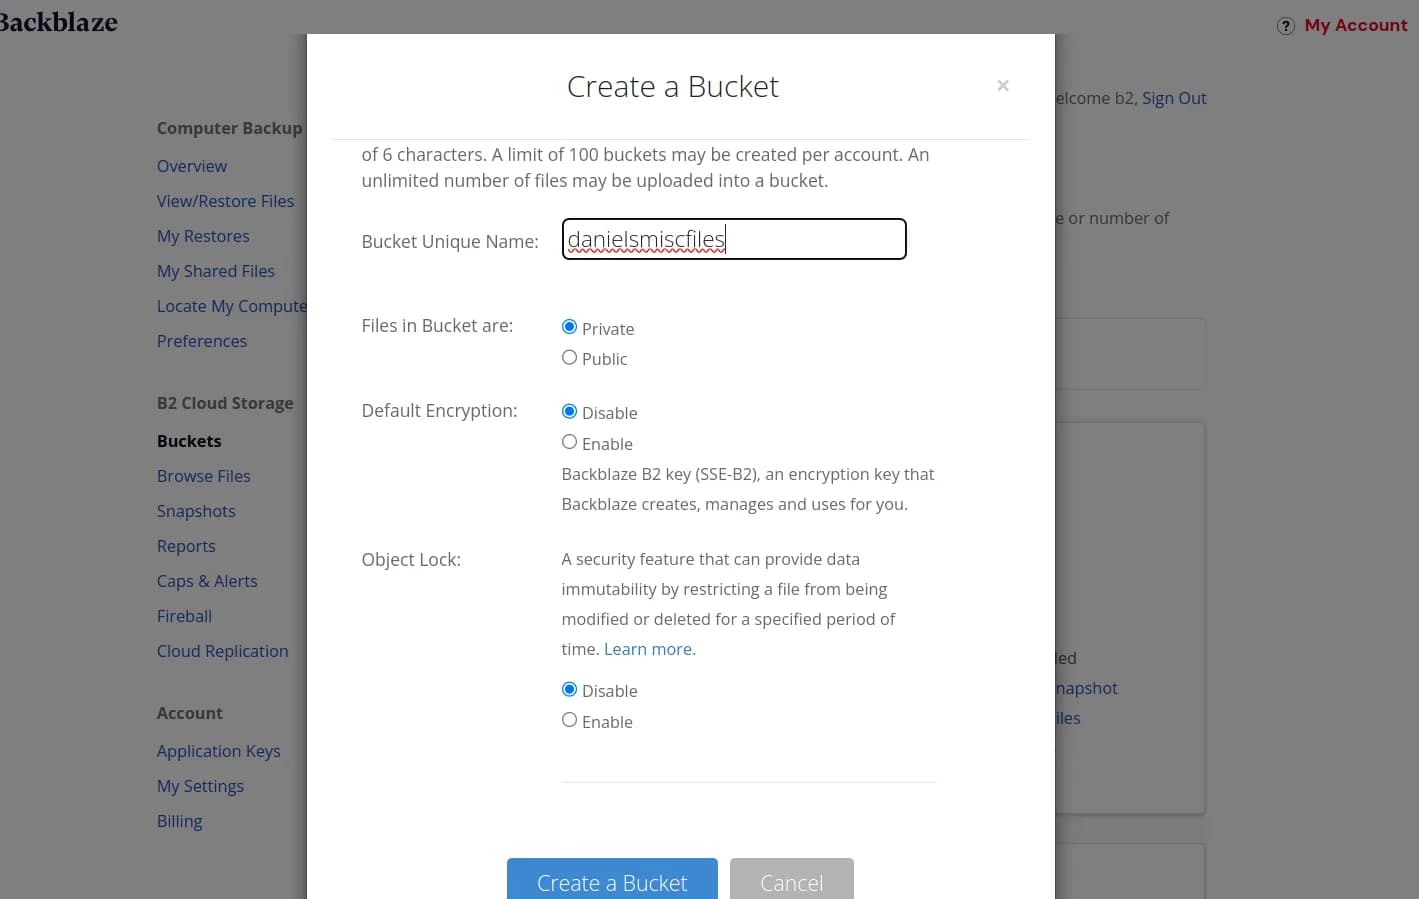
Create An API Key For The B2 Bucket
Next, we’re going to create an API key for rclone to use to write to our bucket.
Best practice would be to follow the principle of least privilege:
Only give rclone access to this bucket
Create an API key that’s only for this volume mount
This will mean that if we want to create more B2 jobs with rclone we’ll need to setup more configurations. But it’s a small price to pay for better security.
So create an API key that looks like this with "allow access to bucket" restricted only to the target bucket.

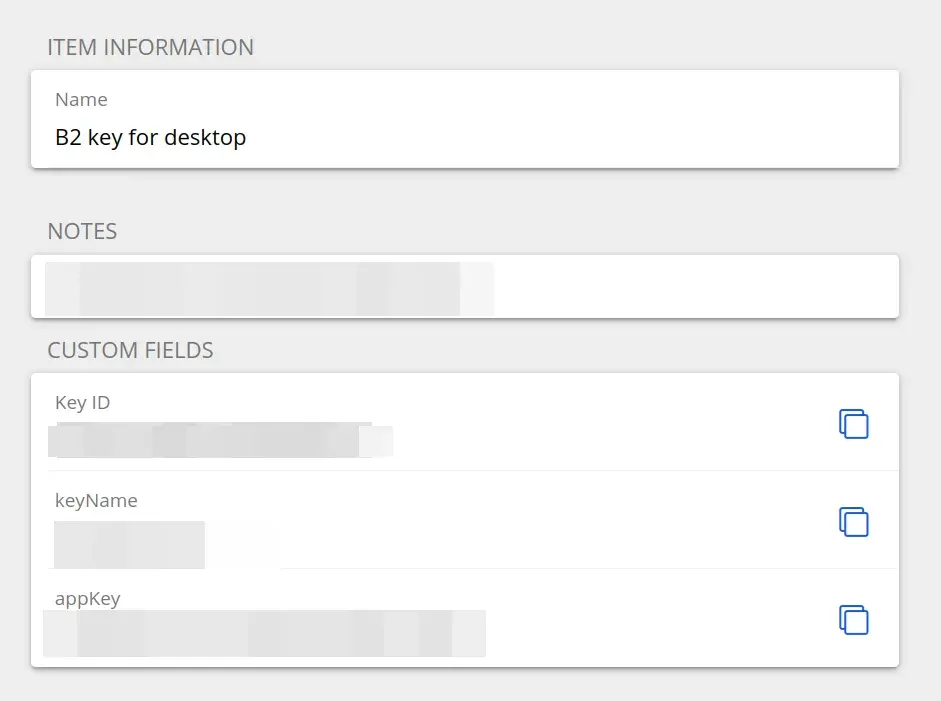
Save The API Key In A Password Manager!
Typically, API keys are shown only once.
I’ve lost track of how many times I needed to re-enter the key but wasn’t able to because … it’s only shown once.
The solution? The moment you create an API key, save it in a secure password manager (I like Bitwarden).
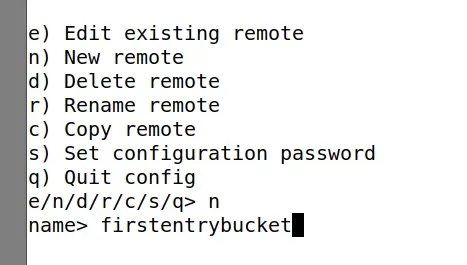
Set Up The Configuration In Rclone
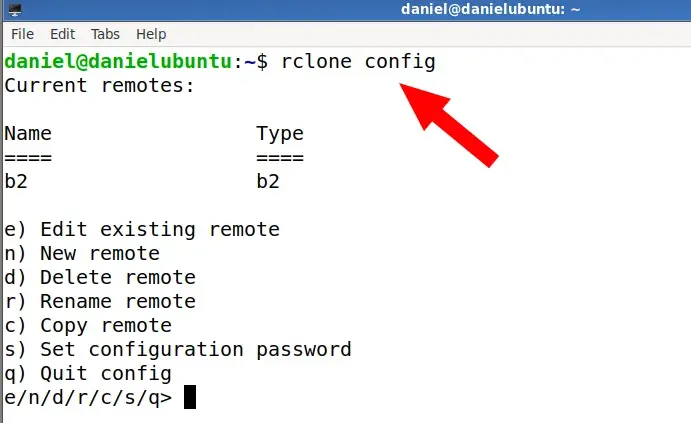
Give it a name in lower case (because of the syntax);
Backblaze B2 is type number 5 in the rclone config.
You’ll be prompted to enter your key ID and app key in the terminal.
Next, Create The Directory
I wanted to be able to easily access my “backup bucket” so I created the directory within my home folder:
But the classic place to create mounts in Linux is at /mnt. So feel free to go for that approach by creating a mount there.
For example:
mkdir /mnt/b2
Test Our Newly Created Mount Point
Now we need to use the rclone syntax which starts with
rclone mount
and then has remote:path
Where:
remote is the name that you gave the connection in rclone.
So if I created it as danielsb2 and I wanted to create a mount to the root of the bucket, I’d go for:
rclone mount daniels2b:/ /home/daniel/B2mount
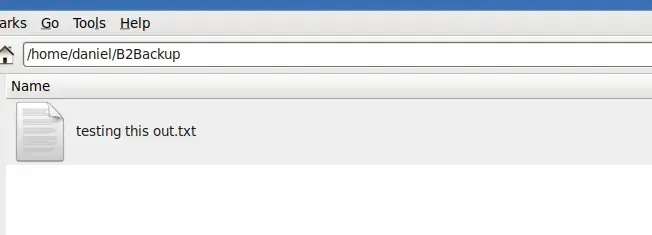
To make sure that it’s working, create a .txt file in the directory that’s supposed to be mounted:
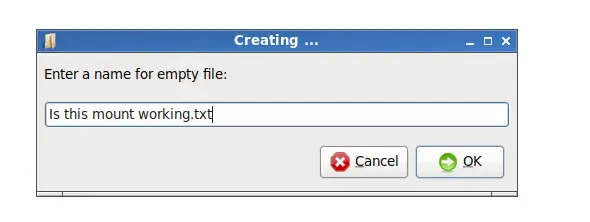
Then you can pop into Backblaze to see if it’s created.
It might take a few seconds, but hopefully you’ll see something like this:
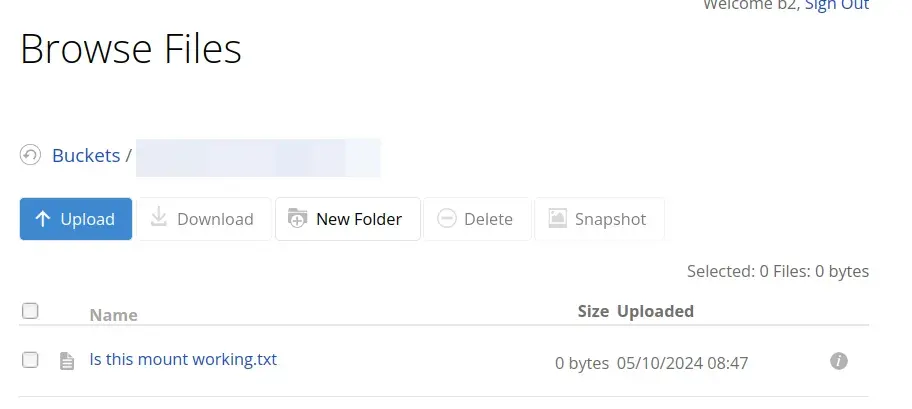
If you want to be thorough, delete the file and make sure that it’s deleted in B2. Then create and delete directories, etc.
Start Your Backup Bucket Mount
Finally, you’re going to want the bucket to mount automatically.
You can append —daemon to the rclone command to make it run in the background.
In LXDE, you can add this directly into LXSession configuration:

And in the highly likely event that you’re using a different desktop environment (DE), you can create a startup script that executes the command on login.
Now, whenever you have something to back up to B2, you can copy and paste it into your backup bucket and rest easy knowing that it’s been synced to the cloud.
Hope that helped!
Tools Mentioned / Used
